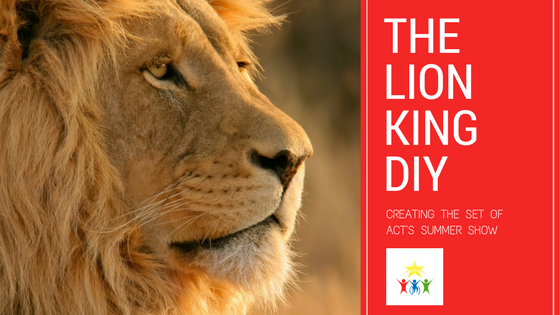
The Lion King DIY Projects: Creating ACT’s Summer Show Set
Lion by Edge Earth (edited in Canva)
NNAAAAAAA ISAMMMBINAAAAA BABAHITI BABA
Every year, our students at Achievement Center of Texas put on a Summer Show to showcase their talents and achievements. This year’s show is a musical production of The Lion King, and it’s coming up on Friday, August 18th, between 7:00 and 9:00 p.m.
Our teachers and supervisors got a lot of our ideas for the set of The Lion King from Pinterest.
Oh, by the way, we’re on Pinterest now! Please follow us by clicking the button below.
You and your child with special needs can also recreate these things to get in the mood to see an uproarious production of The Lion King. We’ve included pictures and step-by-step instructions.
Share your project attempts with us on social media. (You can see links to our social sites at the very bottom of each page on our website.)
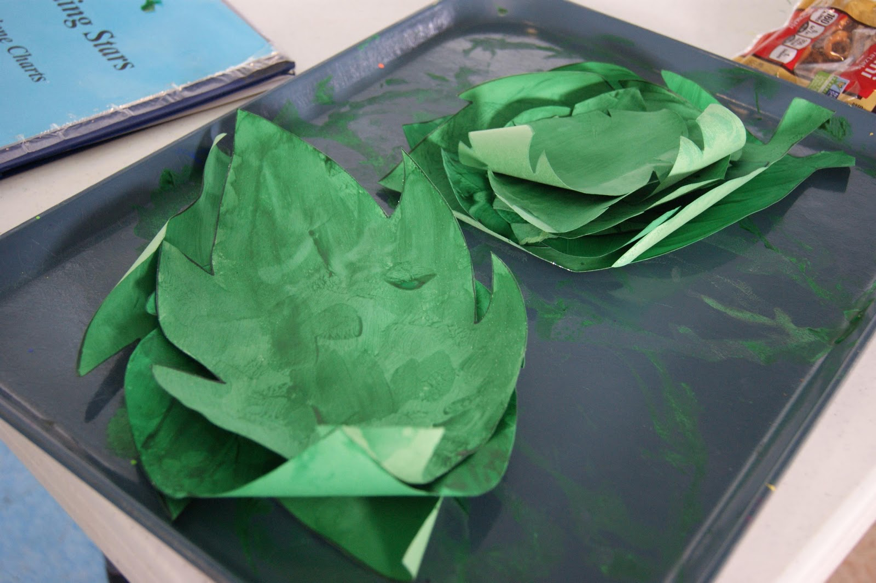
It’s a jungle out there: Making the leaves
Materials
- Green paint
- Brushes
- Construction paper
- Scissors
- Tray/ aluminum pan/ newspapers (it gets messy)
Step one
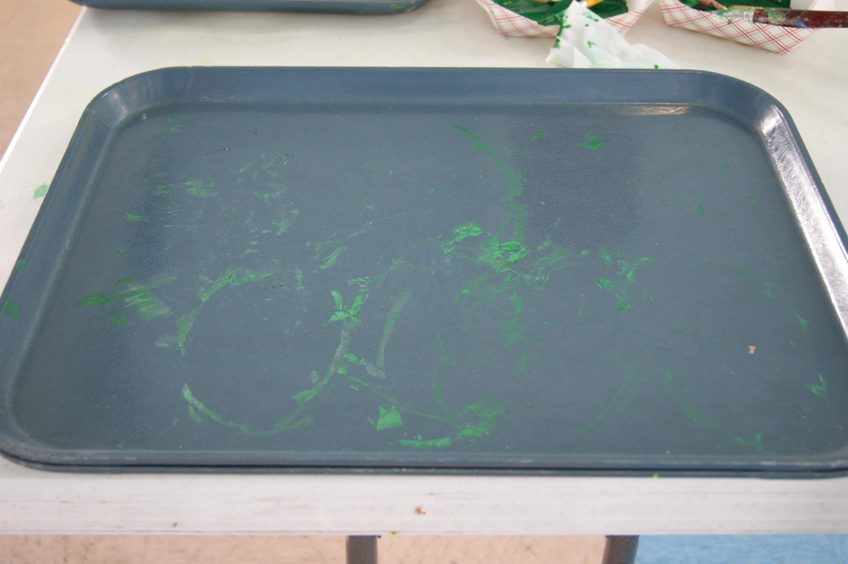
Set up an area that is safe to get paint all over. Use a tray or disposable aluminum pan for a work area or lay down sheets of newspaper on a table.
Step two
Cut large oval shapes out of paper. Start with this shape and then later cut out details to make different kinds of leaves.
Step three
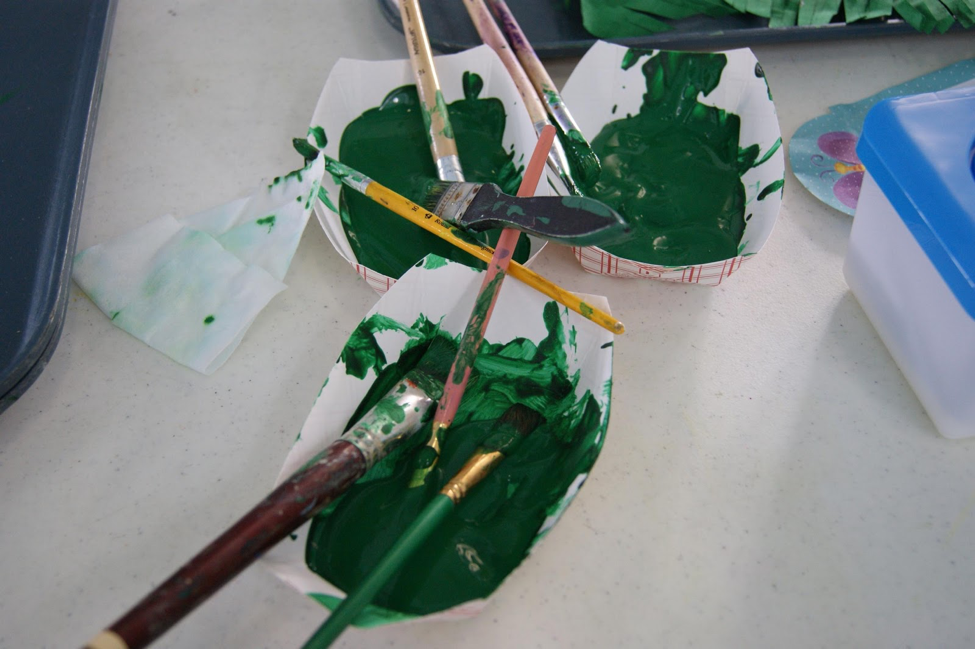
Pour green paint into a cup or bowl. Dip the brush into paint and cover the oval in green.
Step four
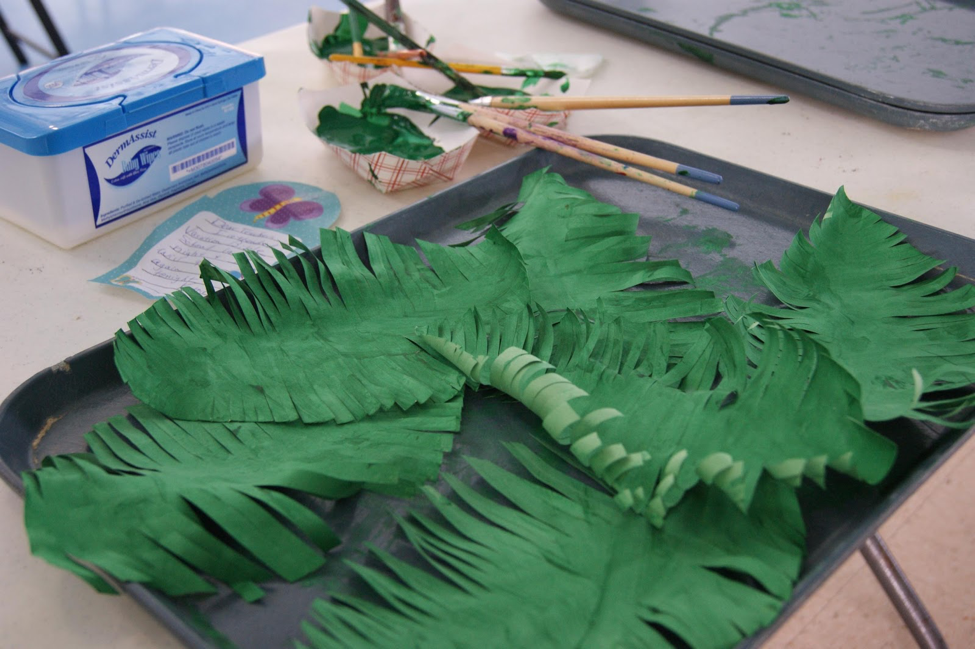
When the “leaves” are dry, make small cuts to resemble the different textures of a leaf (see pictures below).
Make like a tree and get out your paint!
Materials
- Large sheet paper
- Brown Paint
- Glue or mod podge
- Wide paint brush or sponge
- Tape
- gloves
Step one
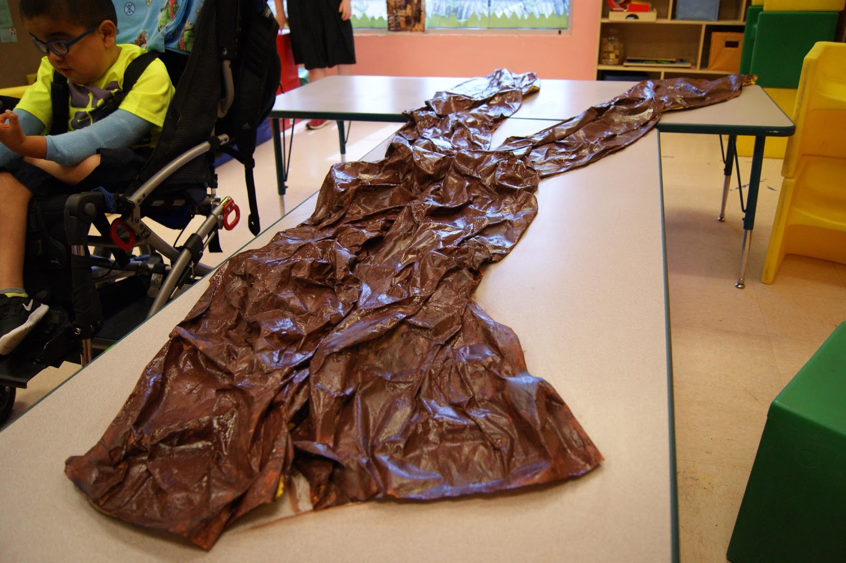
Lay out several pieces of large paper for the trunk. Take a large paint brush or sponge and completely cover the paper in glue.
Step two
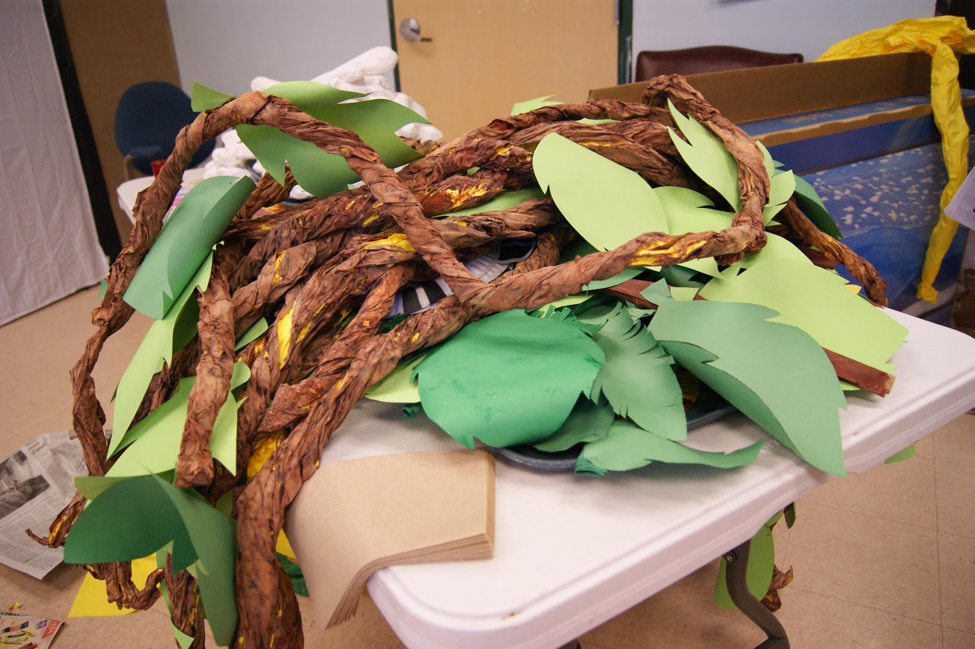
Once the paper is soaked, crumple the paper together to create the texture of bark on a tree. (See pictures below).
Step three
Use long, narrower sections of paper for the branches. Cover the paper in glue. Take the paper and twist together to create long skinny branches.
Step four
When all your pieces are dry, take out your brown paint and cover and the nooks and crannies.
Step five
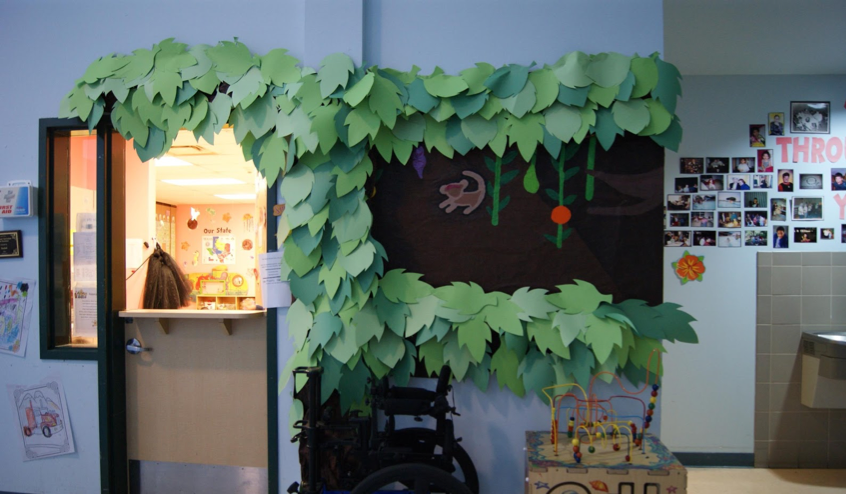
Tape the branches to the tree trunk. Tape lots of leaves to the branches.
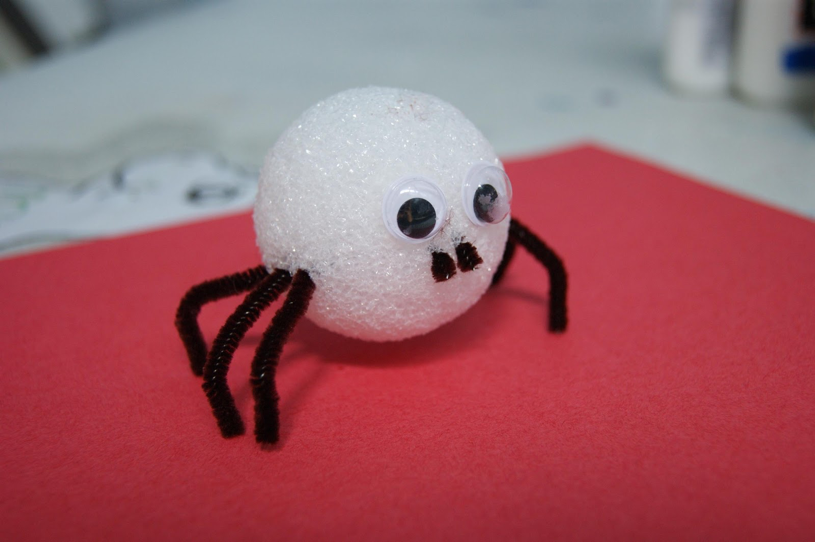
Hakuna Matata: Making the Bugs!
Materials
- Foam balls
- Pipe cleaners
- Google eyes
- Glue
- Paint (any colors)
- Scissors
Step one
Take foam ball and paint any color you want! There are lots of different kinds of bugs in the world. It can be green, orange, blue, or it can be your favorite color or your least favorite color. You can take a lot of creative freedom and add dots or stripes.
Step two
While the paint is drying, cut pipe cleaners into short pieces for the legs. It can have 6 legs or 10 legs depending on how you want your bugs to look.
Step three
Stick the legs onto the sides of the ball.
Step four
Glue two google eyes on the front of the ball. Add any other details you like to your bugs.
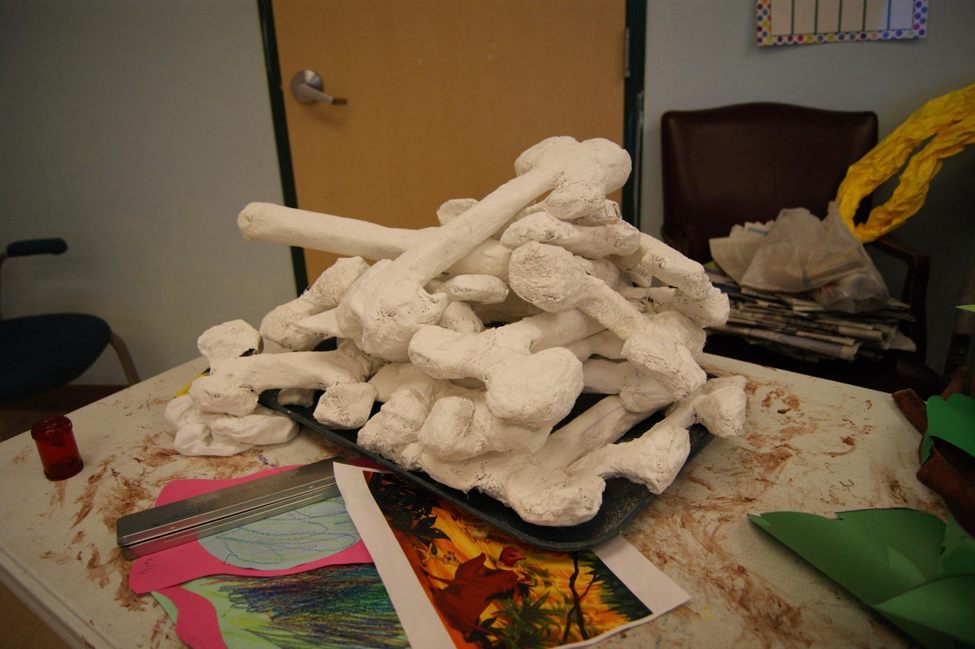
The Elephant Graveyard
Materials
- Paper towel / TP rolls
- News papers
- Tape
- White paint
Step one
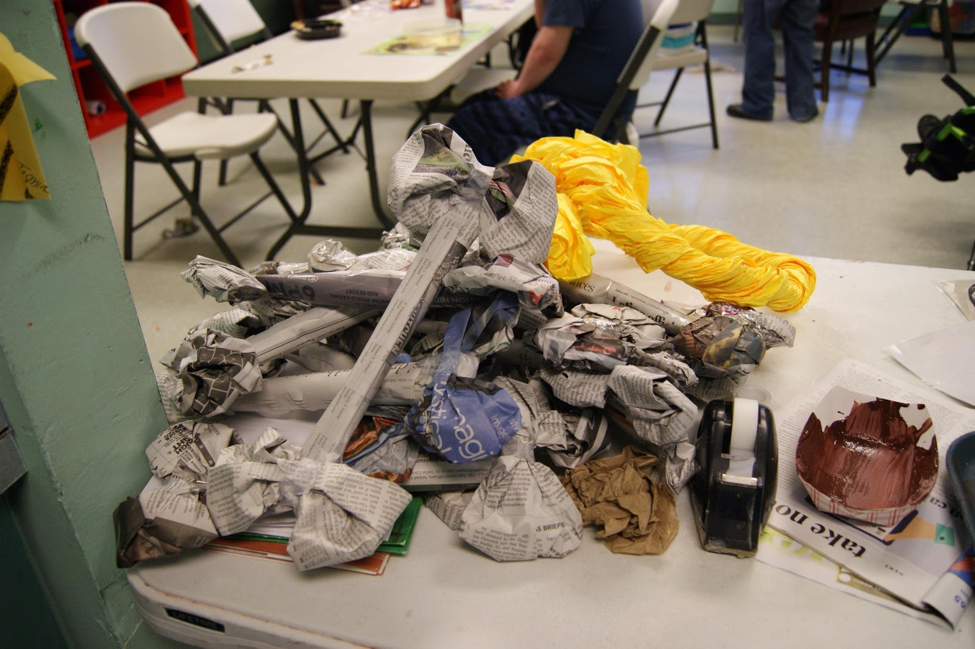
Create the shaft of the bone by using a paper towel roll *or taking a sheet of newspaper and rolling it into a tube. Tape the paper together.
Step two
Create the ends pieces. Take one sheet of newspaper and crumple into an oval shape. Take a long piece of tape and tightly wrap around the middle to create a bow shape like (>-<). It doesn’t have to be perfect.
Step three
Take two end pieces and tape to the shaft. (See pictures).
Step five
Cover the bone in white paint
Bones for the elephant graveyard
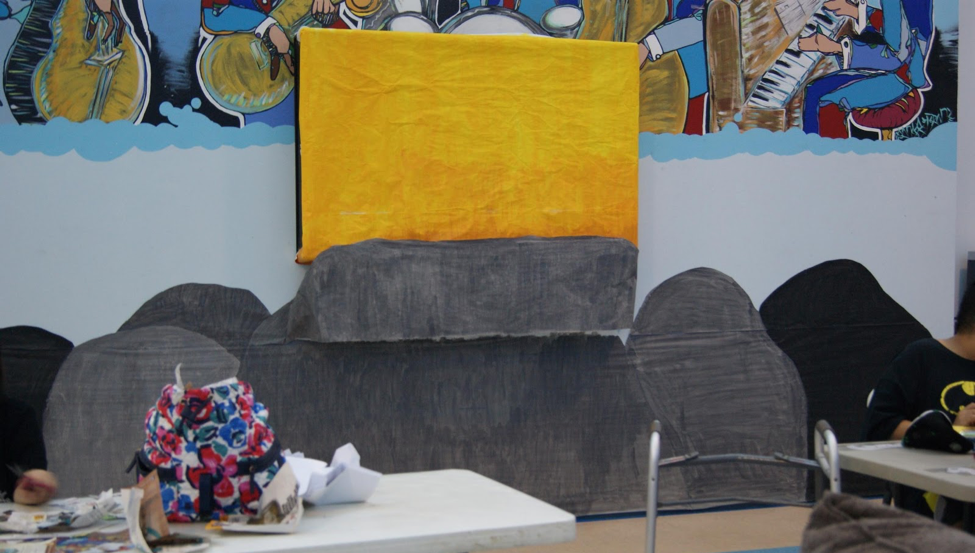
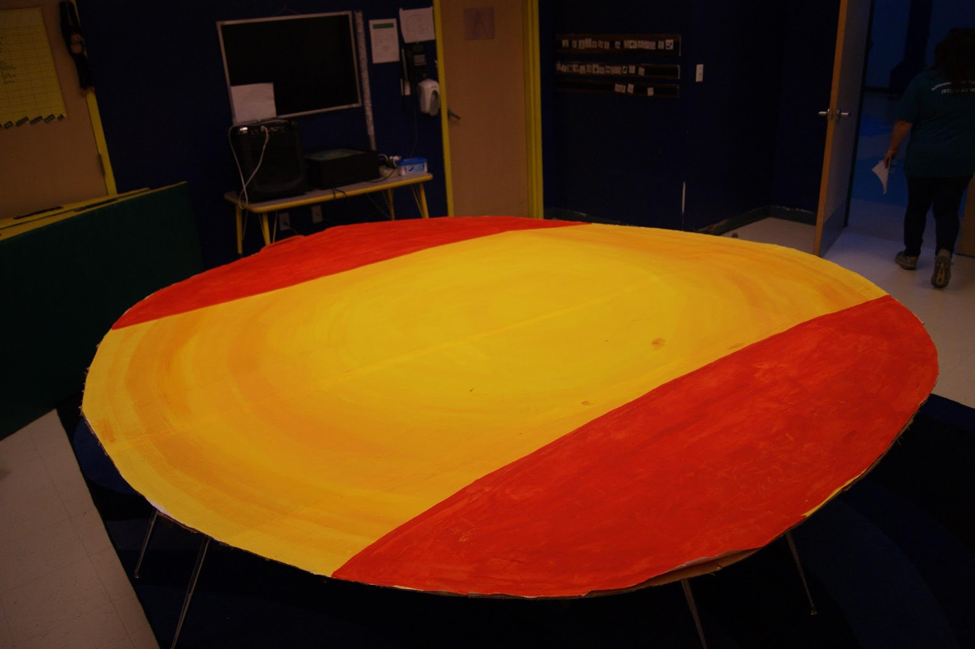
Our set is coming together!
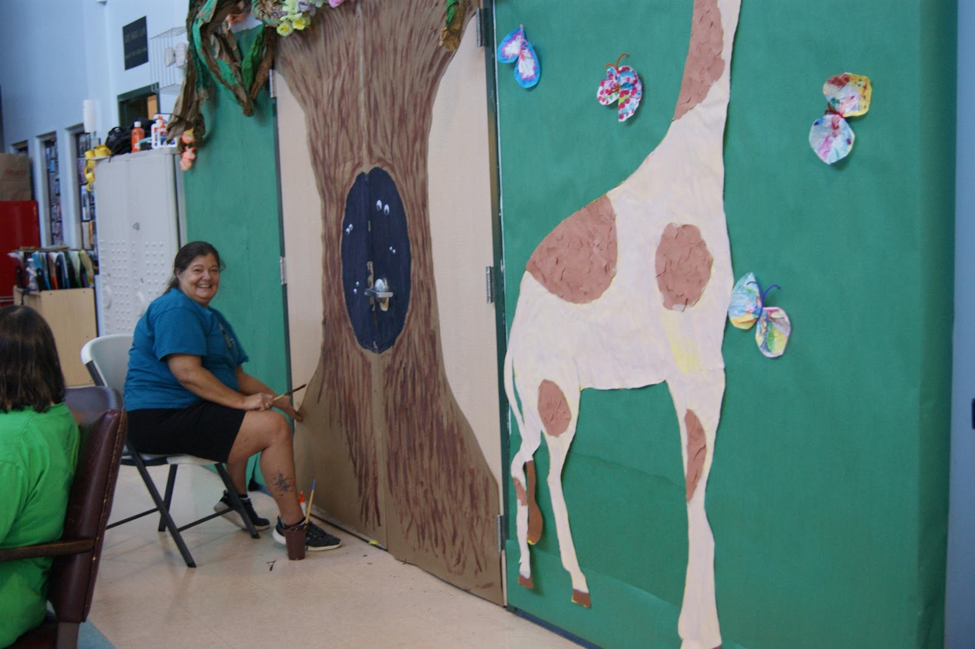
We’re so proud of all of our students for working so hard to bring the set of The Lion King to life. They’ve also been working tirelessly to learn their lines, practice their dances and rehearse their songs.
We can’t wait for you to see our student production of The Lion King at our Summer Show on August 18th.
Donate to make our costumes and set even better
Help us make these cherished memories for our students. Donate items so we can finish making the set and costumes for our students. The show must go on, but we can’t make it happen without your contribution. Thank you.
List of items needed
- Newspaper
- Cardboard
- Animal print fabric
- Face paint
- Felt fabric
- White tube socks
- Feather boas
- Faux fur
- Oil pastels
- Elastic
- Acrylic paints (brown, green, red, white, yellow, orange, gray and black)
- Paper towels and/or paper towel tubes
- Green plastic table cloth
You can also donate cash to help out with other materials. Click the button below to donate cash to make our dream Summer Show a reality.
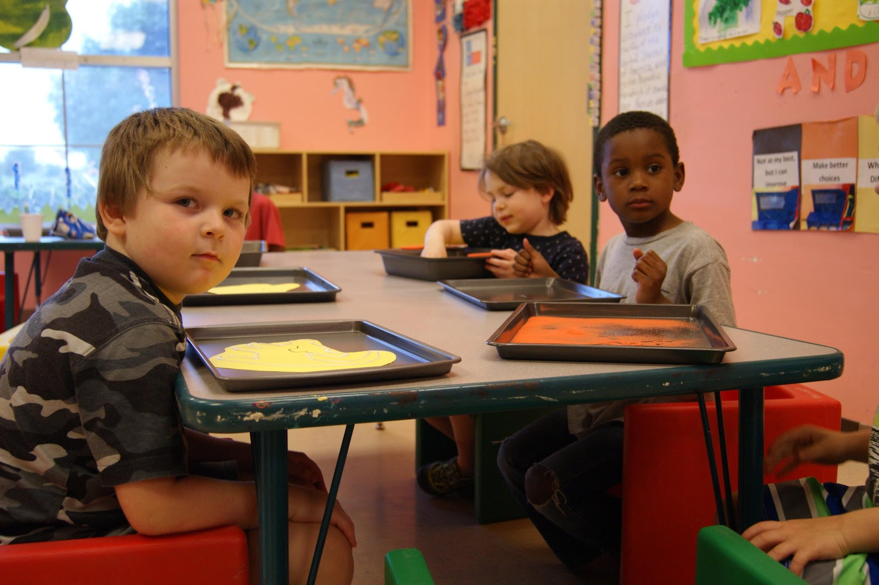
The Lion King Invitations
Our Day Care students made the invitations that are going out to their parents in the shape of Simba (as depicted on Rafiki’s tree). This is the picture our students used to reference their work.

Materials
- Construction paper
- Pencil or pen
- White Glue
- Orange sand (or food coloring dyed salt)
- Markers
- Baking pans
Step one
Take a piece of construction paper, preferably manila or yellow, and trace the outline of baby Simba. Next use a dark colored marker to draw the eyes and nose shaped like -_-
Step two
Take the glue and squeeze along the outline of Simba.
Step three
Place the paper in a backing pan with the wet glue facing up. Pour a hand full of colored sand/salt over the top and shake the pan back and forth till the glue has been covered.
Our students were excited to get started.
Don’t eat the sand!
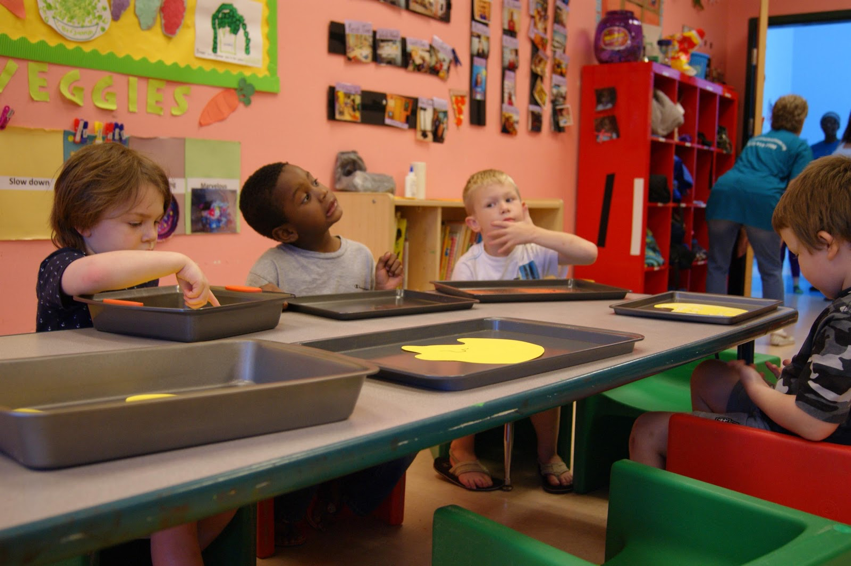
Shaking the sand onto the glue.
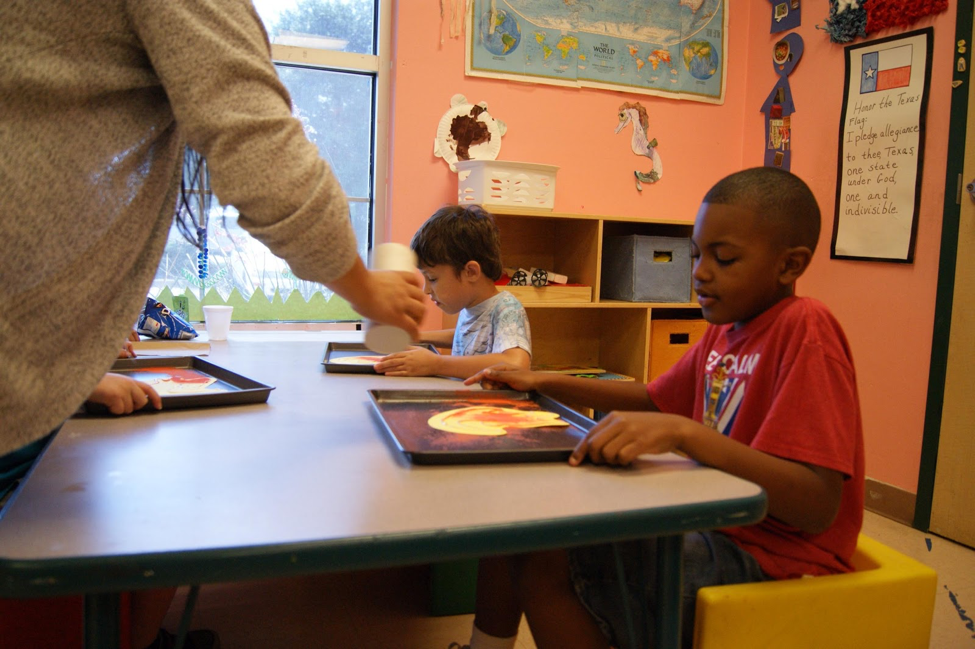
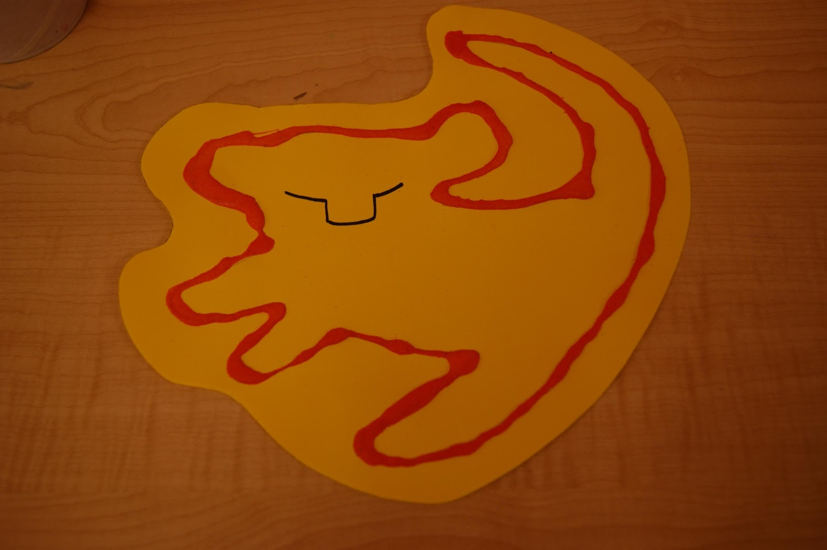
The final product.
Information about the event will be written on the back of the card and mailed out to the parents of our Day Care students.
You’re invited!
We would be absolutely honored if you would take time our of our day to see our students’ accomplishments. Food and beverages will be provided, and admission to the Summer Show is free, but there is a suggested donation of $5.00 per person who attends.
Mark your calendars for Friday, August 18th, 7:00 to 9:00 p.m. We’re having the show at our center: 2950 Shiloh Road, Garland, Texas 75044. We can’t wait to see you there!