
6 Sensory Arts and Craft Projects for Children with Autism
 (Made in Canva)
Sensory Arts and Crafts are both fun to make and something that you can reflect on in the future, something your child can be proud of. Here are 6 sensory arts and craft projects for you and your child with Autism to enjoy making together:
1. Edible Play-doh
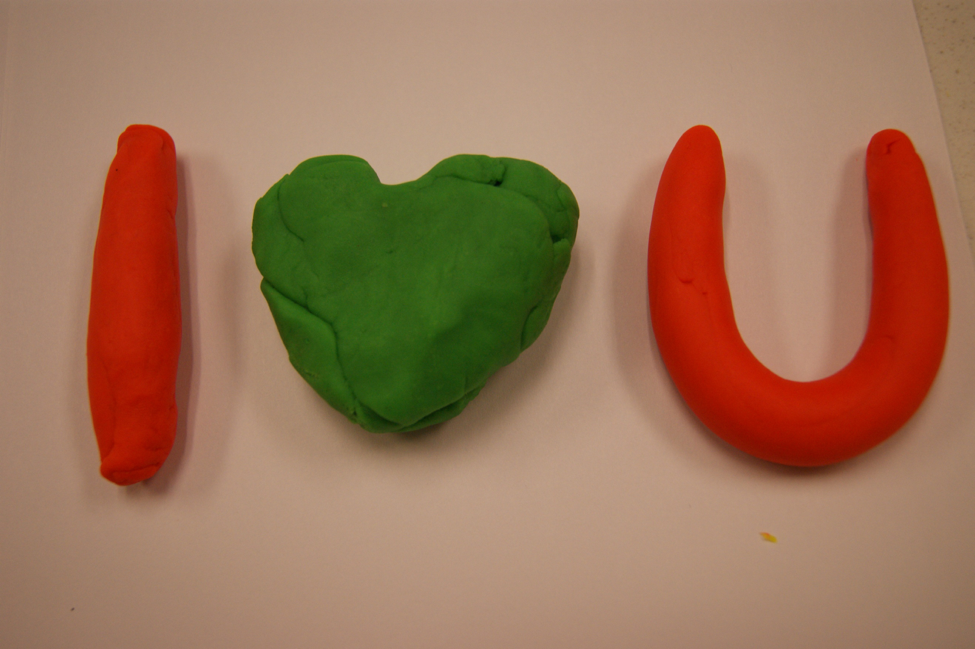
Every kid deserves the liberty of getting to create something. Working with Play-doe can really open the imagination, but store-bought Play-doh can be colorful and tempting to eat for children with Autism.
You can make non-toxic, edible Play-doh at home following these steps.
Materials Needed
- 2 cups of water
- 5 cups of white flour
- 5 cup of salt
- 1 tablespoon of cream of tartar
- 2 packages (0.13 oz) of unsweetened KOOL-AID
- 3 tablespoons of vegetable oil
- 1 medium-size sauce pan
- 1 large mixing bowl
- 1 cooking spoon
- 1 whisk
- Cookie cutters (optional)
Steps
Step 1.
Boil the water in the sauce pan on the stove.
Step 2.
While you’re waiting for the water to boil, whisk the cream of tartar, flour, KOOL-AID and salt together in the large mixing bowl to create a fine powder.
Step 3.
Add the vegetable oil into the dry mix in the bowl and stir it with the cooking spoon.
Step 4.
Remove the boiled water from the stove and let it cool for a second.
Step 5.
Once the water has cooled down (still hot but no longer boiling), add it to the mixture and stir it with the cooking spoon.
Step 6.
Sprinkle some flour onto your counter (or a large cutting board if you’re trying to cut down on the mess).
Step 7.
Dump the dough onto the powdered surface and knead for a little less than 10 minutes.
Step 8.
Honor the Play-doh’s namesake, and play with it! If you opted to use cookie cutters, you can cut it into little shapes for your child.
Senses Engaged
Sight
Smell
✘Hearing
Taste
Touch
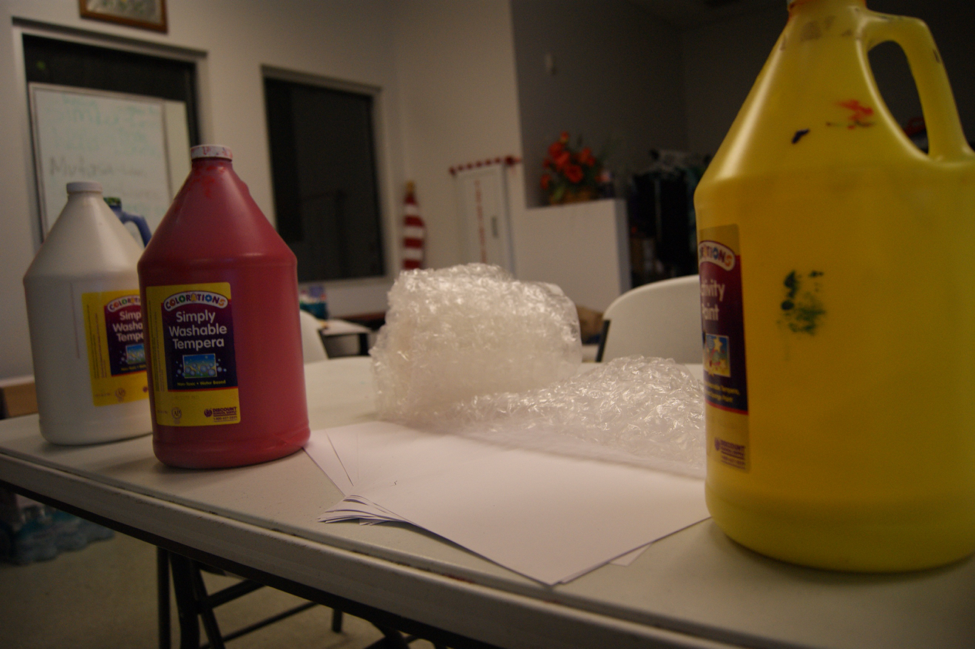
2. Bubble Wrap Abstract Painting
Who isn’t completely captivated by popping the tiny, individual bubbles in bubble wrap?
Regardless of age or ability, bubble wrap is a fun, satisfying way to pass the time. For children with Autism though, bubble wrap can be a sensory adventure. Add to the recipe a little paint? And you’ve got yourself a hybrid between a masterpiece and a playground.
Materials Needed
- Bubble wrap
- Large sheets of paper OR an old bed sheet
- 1 gallon of paint (at least)
- 1 large area outside (like a driveway or a yard)
- 1 disposable aluminum pan (at least)
- 1 roll of packing tape
Steps
Step 1.
Lay out your large sheet of paper or bed sheet outside. You could lay something down inside, if you like to live dangerously. But at the very least, we recommend laying it down in a non-carpeted area.
Step 2.
Fill your disposable, aluminum pan(s) with paint and place it/them close to your sheet.
Step 3.
Wrap your kiddo’s feet in bubble wrap and use the tape to secure their bubble-wrap shoes. (This process should be a good time, even before you start painting!)
Step 4.
Have your child stand in the paint bins.
Step 5.
Let them walk – or dance – or run – or jump on the sheet. Let them paint! Let them enjoy the satisfying sounds of the bubbles popping beneath them!
Senses Engaged
Sight
Smell
Hearing
✘Taste
Touch
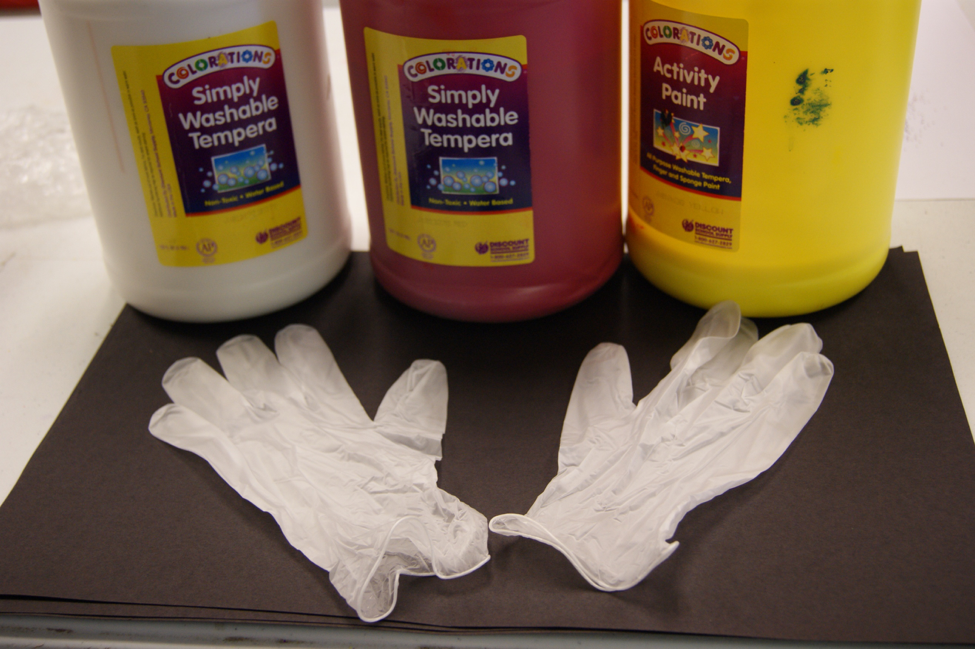
3. Latex-gloved Finger Painting
Everyday finger painting is fun, sure, but let’s be honest: It’s also really messy. Sometimes it’s so messy that maybe it’s not worth it… Finger painting with latex gloves can accomplish two things for your child with Autism:
- It takes half of the effort out of the cleanup. You should only have to clean up the table or clothes (worst case scenario) but not tiny fingers.
- Latex provides an interesting sensory experience. It adds an extra tactile sensation, but the sound of the latex fingers rubbing against itself or against paper could also be soothing.
Materials Needed
- Latex gloves OR non-latex plastic gloves (in case your kiddo is allergic)
- 1 container of washable paint (the more colors the better!)
- Construction paper
- Newspaper OR an old sheet
Steps
Step 1.
Lay out sheets of newspaper or an old bedsheet over your dining table (or, if you’re feeling extra cautious, on the floor in the kitchen or outside somewhere).
Step 2.
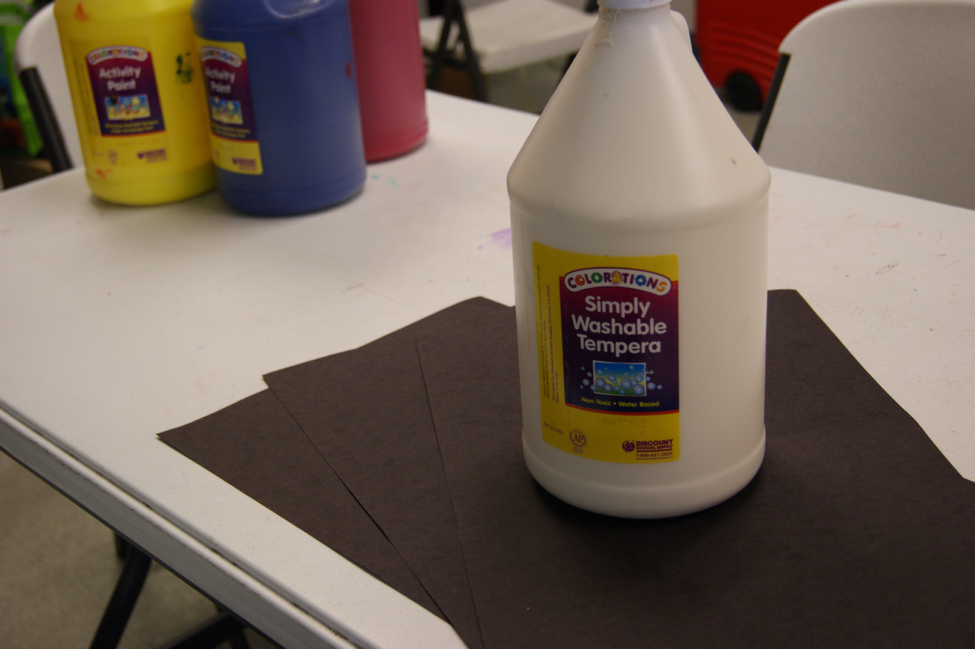
Prepare the paint. What this entails will depend on the type of paint you have. If it’s the gallon paint, like in our picture, we recommend filling a small, disposable container with it.
Step 3.
Set out the construction paper.
Step 4.
Put your child’s little hands in the gloves.
Step 5.
Let them paint! You can give them suggestions on what to create or you can just let them explore their own creativity. They might even create an abstract masterpiece!
Senses Engaged
Sight
Smell
Hearing
Taste
Touch
4. Black Light Painting
It’s funny how much the lighting in a room can seem to completely transform it. Screwing in a black light instead of a regular lightbulb can turn your living room into a living photo negative.
Making art in this light can be twice as intense and exciting from a sensory perspective, especially for your child with Autism.
Materials Needed
- 1 black lightbulb
- Black construction paper
- 1 container of white paint
- Newspaper or an old bedsheet
- Paint brushes
- Latex gloves (optional)
Steps
Step 1.
Lay out the newspaper wherever you see fit (the dining table, kitchen floor or outside).
Step 2.
Set out the black construction paper. You might just lay out one sheet at a time or cover your chosen surface with them. (This craft is more about the experience than the finished product!)
Step 3.
Prepare the white paint. For an experience like this, we recommend using the gallon paint as shown above, but again, it’s up to you and your preference.
Step 4.
Place the paint brushes on your chosen surface beside the paint.
Step 5.
If you opted to use the latex or non-latex plastic gloves to help reduce the mess, have your child put them on now.
Step 6.
Change out your regular bulb and replace it with the black lightbulb.
Step 7.
Let the sensory painting begin!
Senses Engaged
Sight
✘Smell
✘Hearing
✘Taste
Touch
5. Sand Art Projects
Sand provide an interesting textural experience – gritty and scratchy and smooth all at once – but it can also create a soothing auditory sensation.
Traditional sand might be dangerous for your child with Autism, however, if he or she feels compelled to taste it, so we have included materials to create edible, synthetic sand.
Materials Needed
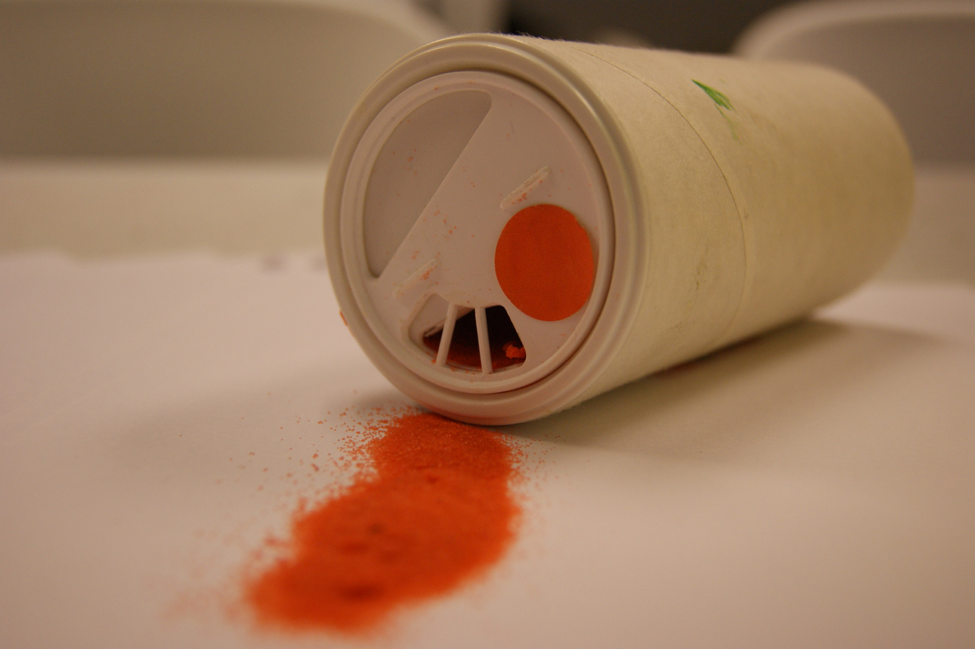
- Colorful sand (or review below items to make your own sand substitute)
- 1 large container of salt
- Liquid food coloring
- 1 Ziploc baggie
- 1 pointed-tipped bottle of glue
- Construction paper
- 1 disposable aluminum pan
Steps
Step 1.
(If you’re opting to use traditional, colored sand, skip ahead to step 5). Add a generous amount of salt into your Ziploc baggie.
Step 2.
Drip a few drops of food coloring into the baggie. We recommend dripping slowly so that you don’t accidentally end up with a darker color than you were anticipating.
Step 3.
Lay your baggie flat on a countertop or table and squeeze all the air out of the baggie before closing it.
Step 4.
Knead the salt in the bag until it’s all mixed up. Voila! You’ve made your own imitation sand.
Step 5.
Lay your construction paper in your disposable, aluminum pan.
Step 6.
Open the glue and create shapes on the construction paper for your child. If your child is more independent, allow them to create the shapes themselves.
Step 7.
Sprinkle some sand (or “sand”) on the construction paper.
Step 8.
Have your child gently shift the pan from side to side to allow the sand to cover all the glued areas. Ta-da! You’ve got yourself a beautiful work of sand art.
Senses Engaged
Sight
Smell
Hearing
Taste
Touch
6. Sparkly Slime
Slime is all the rage right now for children, and your child with Autism shouldn’t miss out on all the fun!
Slime is a gooey, slightly sticky substance that can be molded into shapes or just squished between fingers. Throw in some glitter and you’ve got artistic sensory therapy right in your hand.
Materials Needed
- 2 (4 oz) bottles of glue
- 1 cup of water
- 1 teaspoon of borax
- 5 cup of warm water
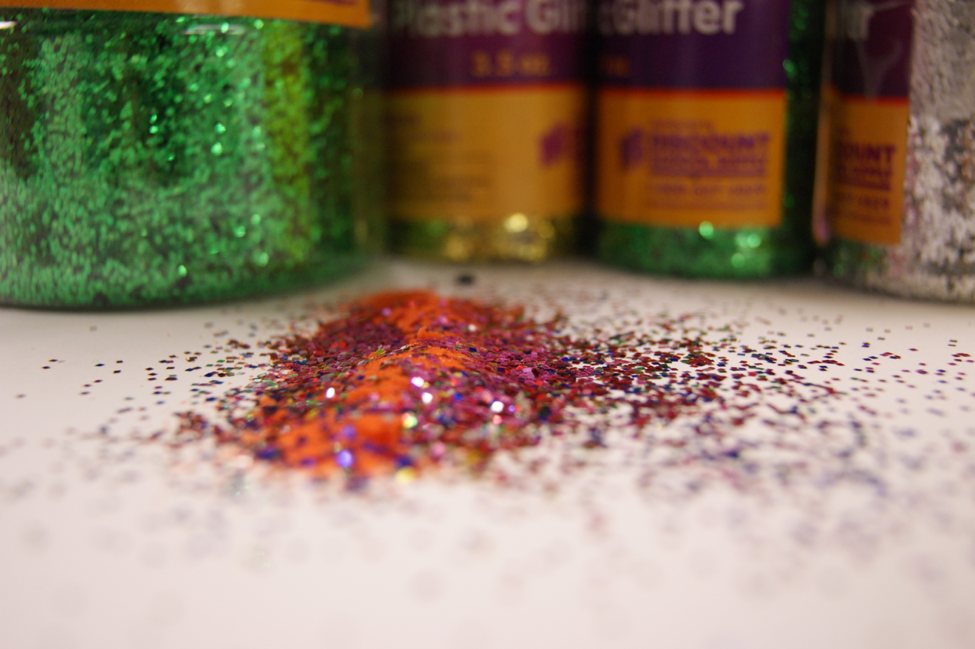
- Copious amounts of glitter
- 1 large mixing bowl
- 1 small mixing bowl
- 1 cooking spoon
- 1 Ziploc baggie (optional)
Steps
Step 1.
Pour all your glue and your room temperature water into the large mixing bowl.
Step 2.
Mix the water and glue together using your cooking spoon.
Step 3.
Pour your warm water and the borax into your small mixing bowl and wait for the borax to dissolve.
Step 4.
Add the borax water to your glue and stir them together for approximately five minutes.
Step 5.
Throw in some glitter, and you’ve got yourself some Sparkly Slime!
Step 6.
Give the slime to your child to play with! Your child may not like the sticky feeling of the slime, so you might think about putting the slime in a Ziploc baggie. That way, they can enjoy the squishy feeling and the sparkles without having to get sticky.
Senses Engaged
Sight
✘Smell
✘Hearing
✘Taste
Touch
Sensory art projects are a great way to stimulate your child’s mind and senses. They also create the perfect opportunity for you to connect on a new level with your child with Autism.
Donate to ACT so we can buy art supplies for our students
At Achievement Center of Texas, we have Arts Exploration for our students every day – in the morning and in the late afternoon before the day ends. We believe that helps our students discover themselves and develop a deeper sense of independence.
You can either bring art supplies that you have lying around your house to the center, or you can donate cash to us so we can buy the things we need.